


In this post, we open our Montreal’s workshop doors to show you the process behind the making of our solid wood entryway storage bench.
Since we’ve launched our new entryway bench configuration entirely in solid wood a couple of months ago, it has had quite a success with our clients (admittedly, we were the first surprised at how well it’s been selling since).
People often wonder how we make things and we always take our clients that come visit the showroom to order a product downstairs in the shop. They like to see where their purchases are crafted and it gives a sense of attachment to the product, since it’s made locally. It also helps them realize the work behind even the simplest thing. So, I guess it’s a way for us to raise awareness (I say it really humbly) for people who are not familiar with manufacturing processes or woodworking in general.
Because not everybody can make the trip to Montreal, we figured opening the shop’s doors virtually was a cool idea, and since I like to write these kind of behind the scenes and woodworking posts, here’s how the solid wood legs from our shoe rack bench are made, step by step. What you’ll see in the pictures are walnut legs but any wood from our standard offering (ash, birch, cherry and walnut ) can be used to make a 100% solid wood bench.
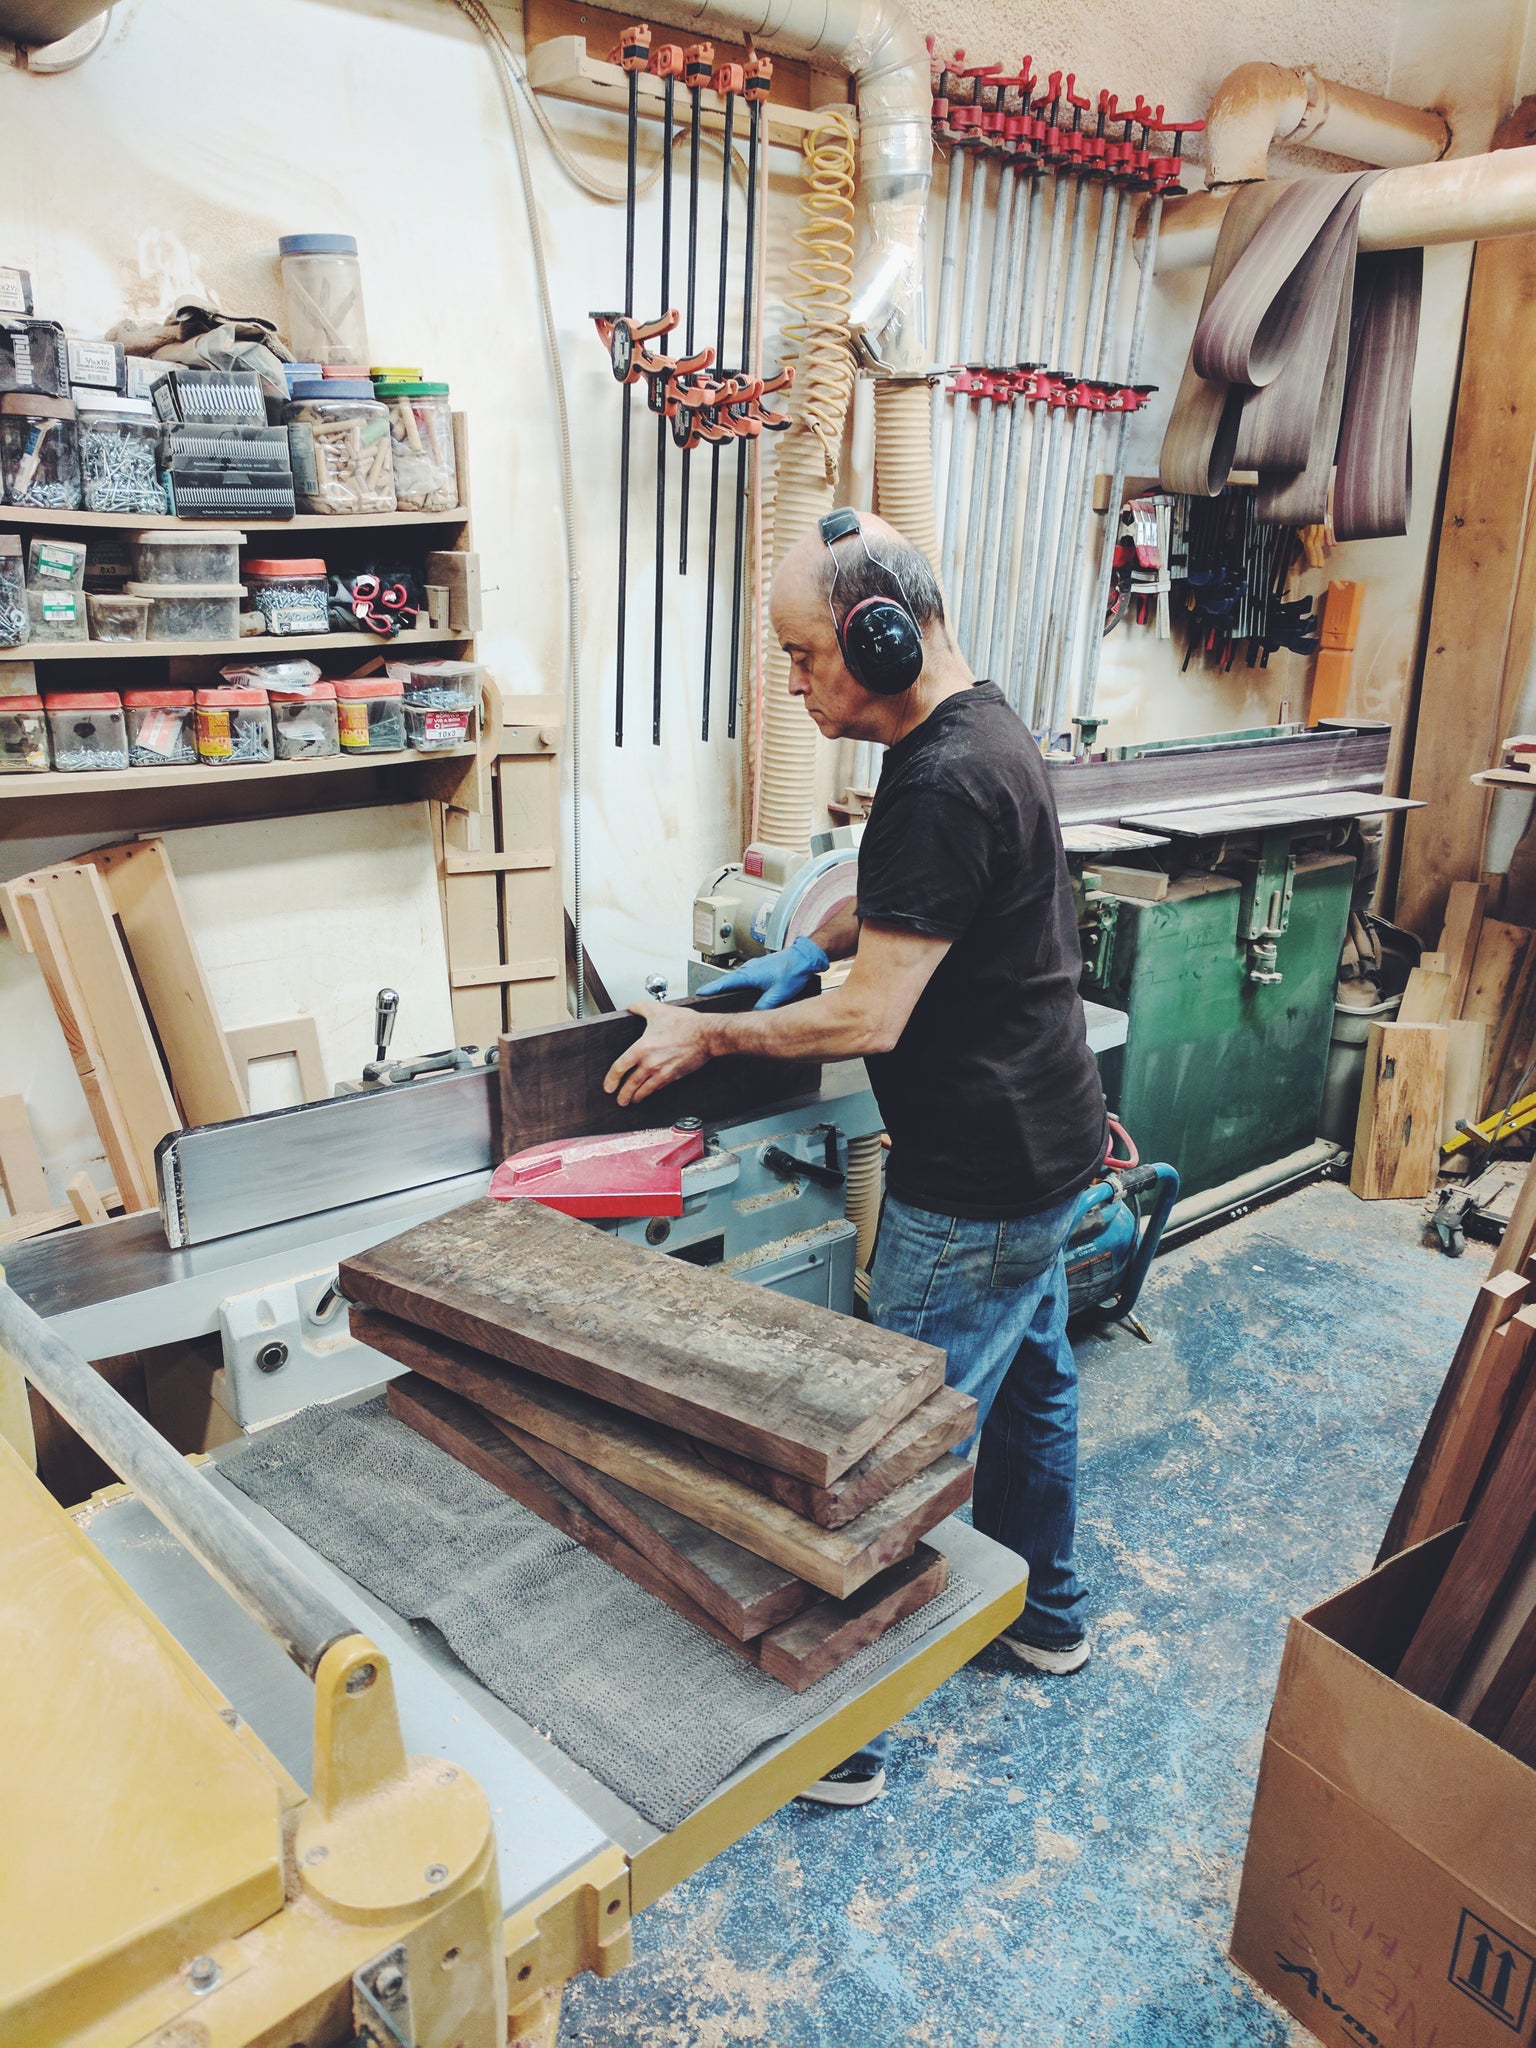
Jean is edging the future walnut legs. At this point the wood parts have been cut to leave a bit more wood then needed. When we receive wood, it often measures 8 to 12 feet long and the edges are really rough. You can still see the rough surface that will later be re-sawn and planed to the right thickness.
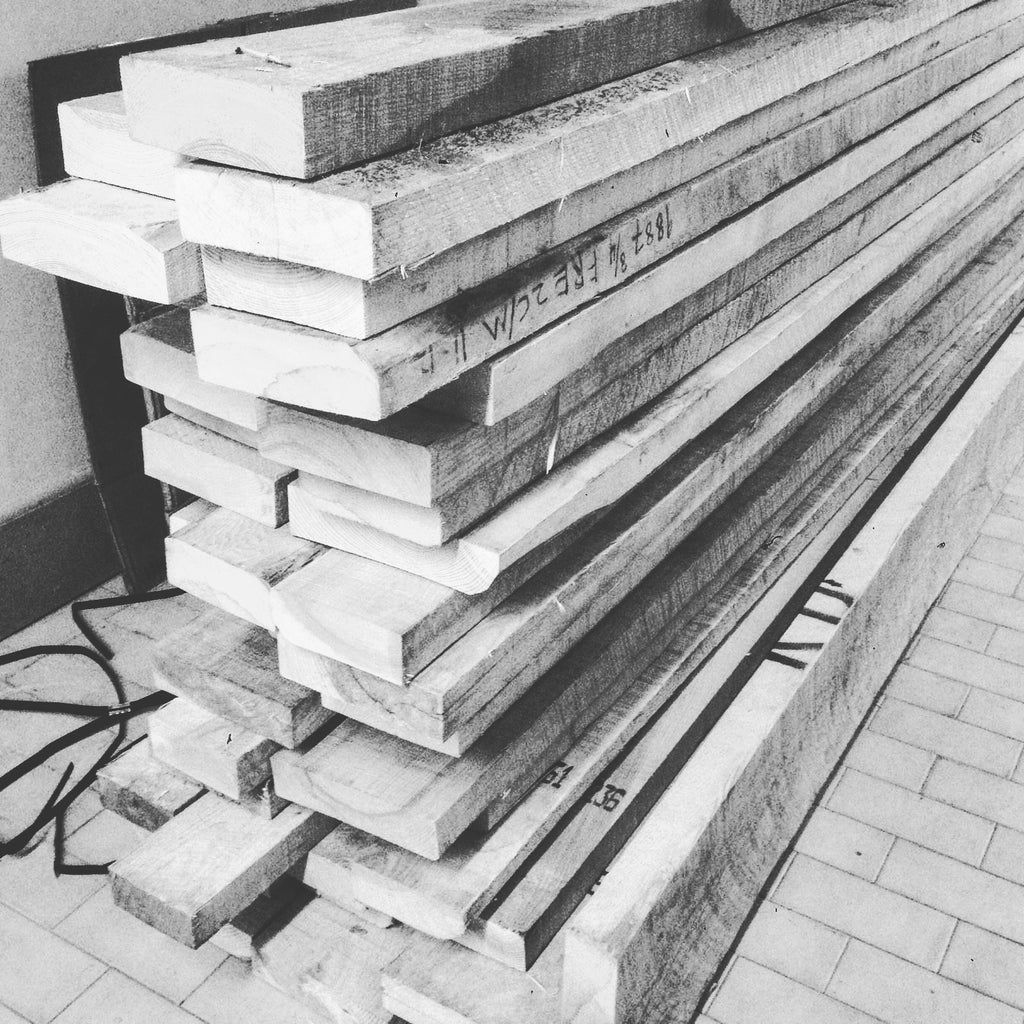
This is an example of what we receive at the shop when we order wood from our distributors. This is ash wood, 8/4 thick (wood planks come in quarters, either 4 quarters, 6 quarters, etc.). This means the planks are roughly 2” thick and they will be re-sawn into thinner planks or planed down to 1,5-1,75”.

Patterns for tracing out the final shape of the legs once the three parts forming a leg are glued together. This pattern is made from paper as it is for a custom bench with a height of 18,5” instead of the regular 16,5” (seat height).
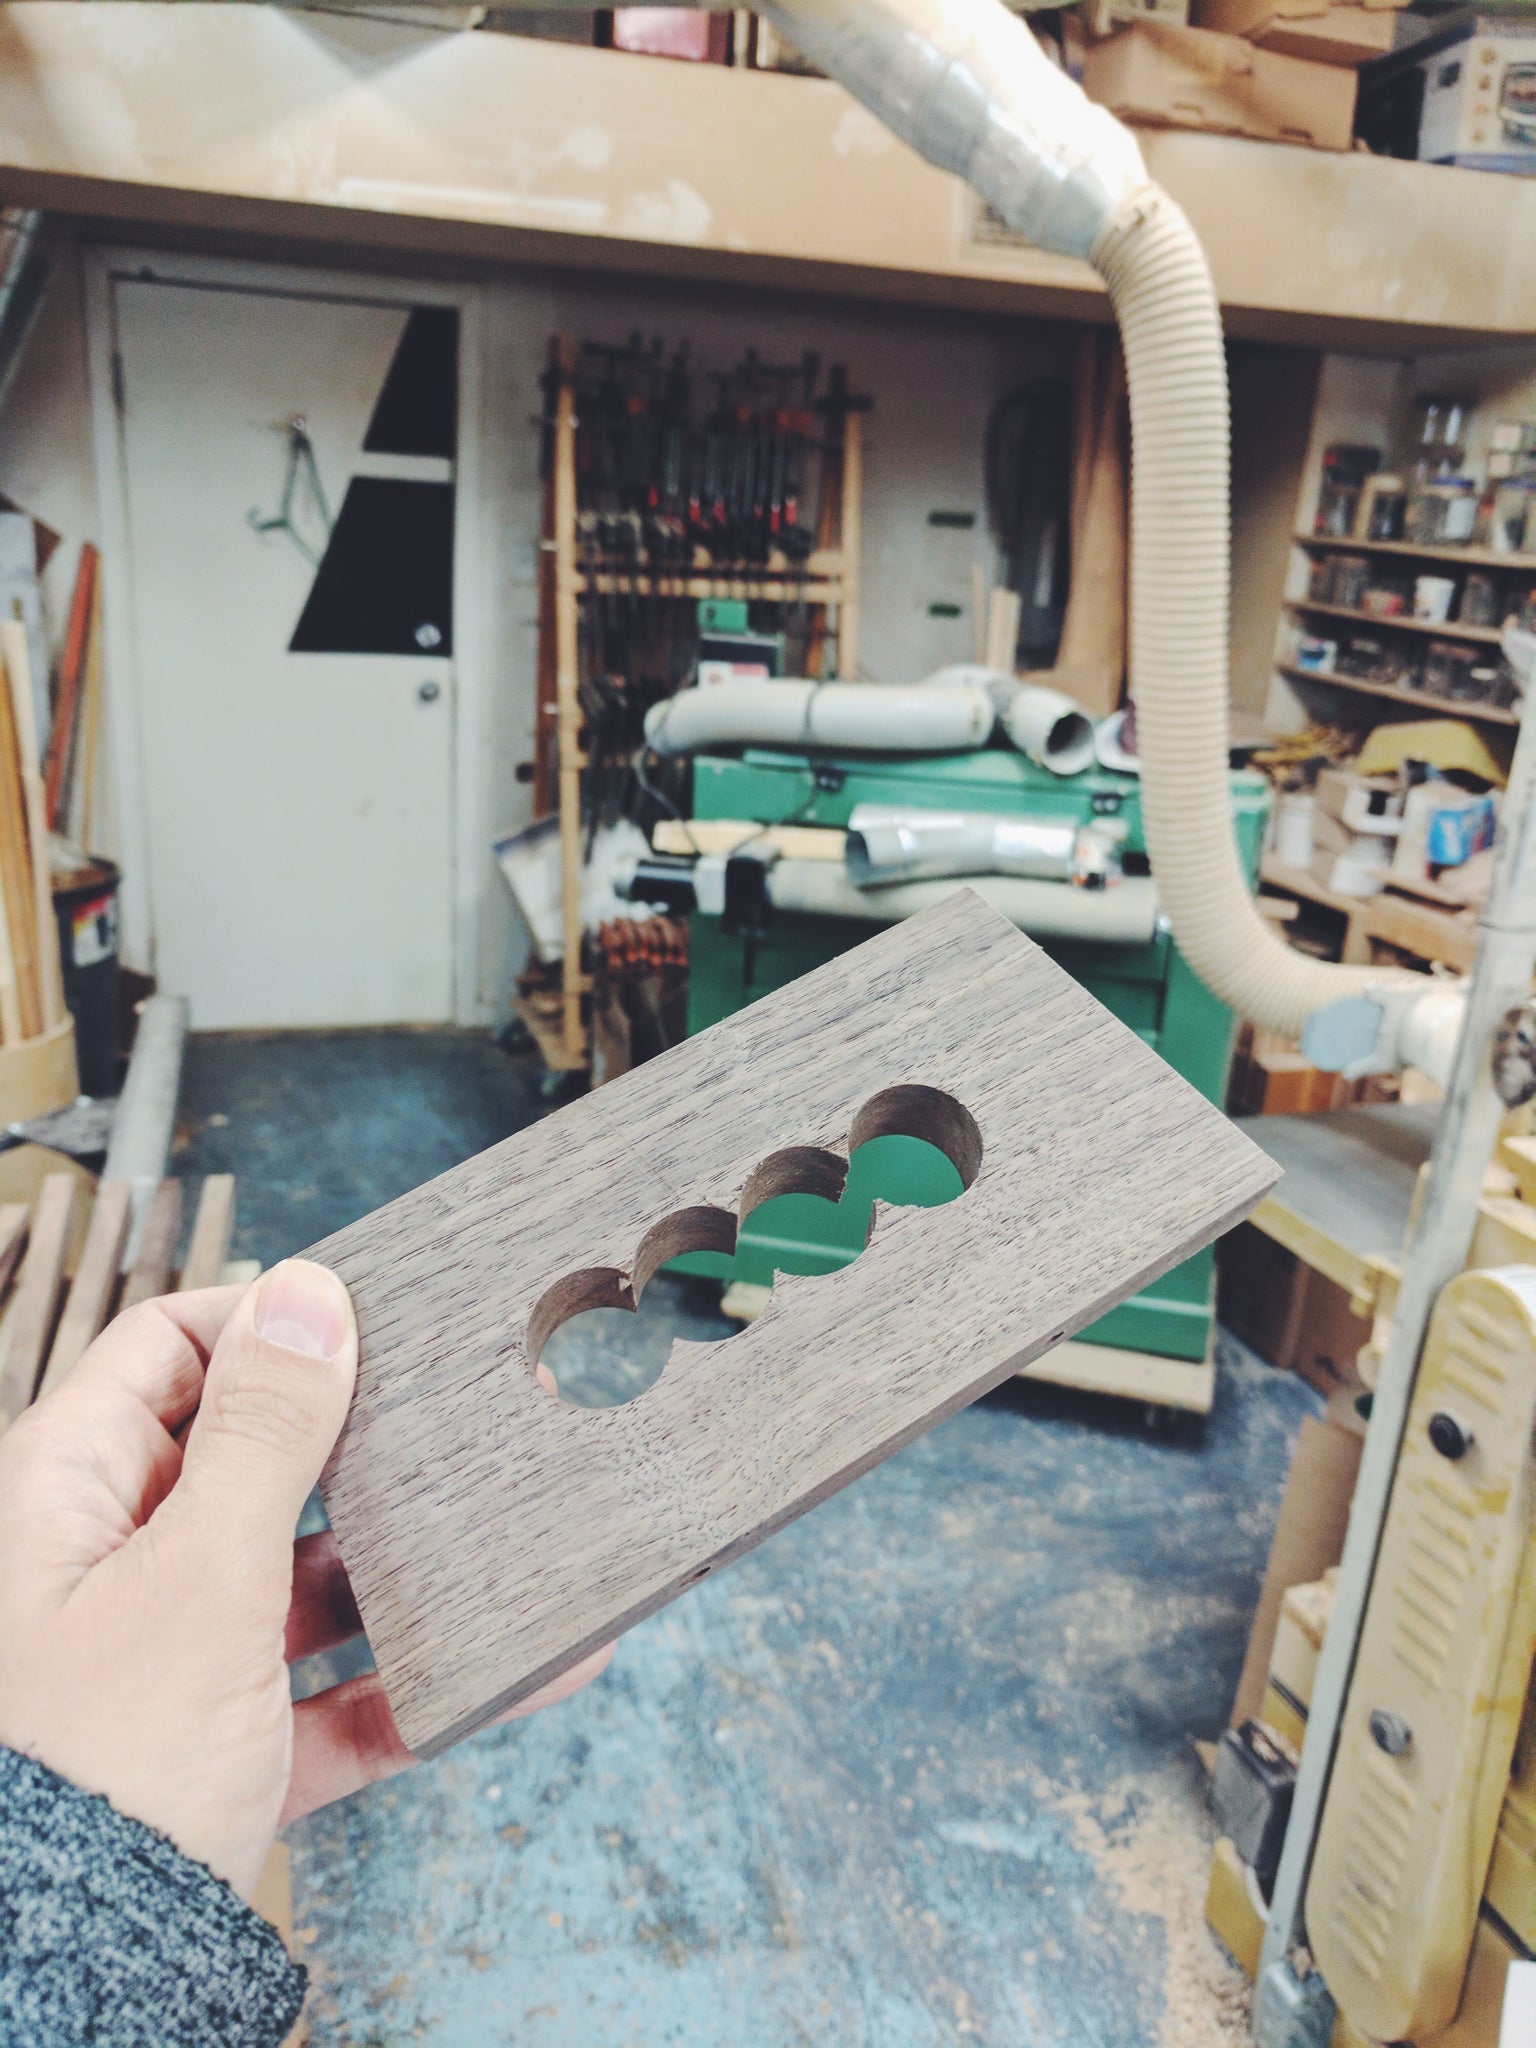
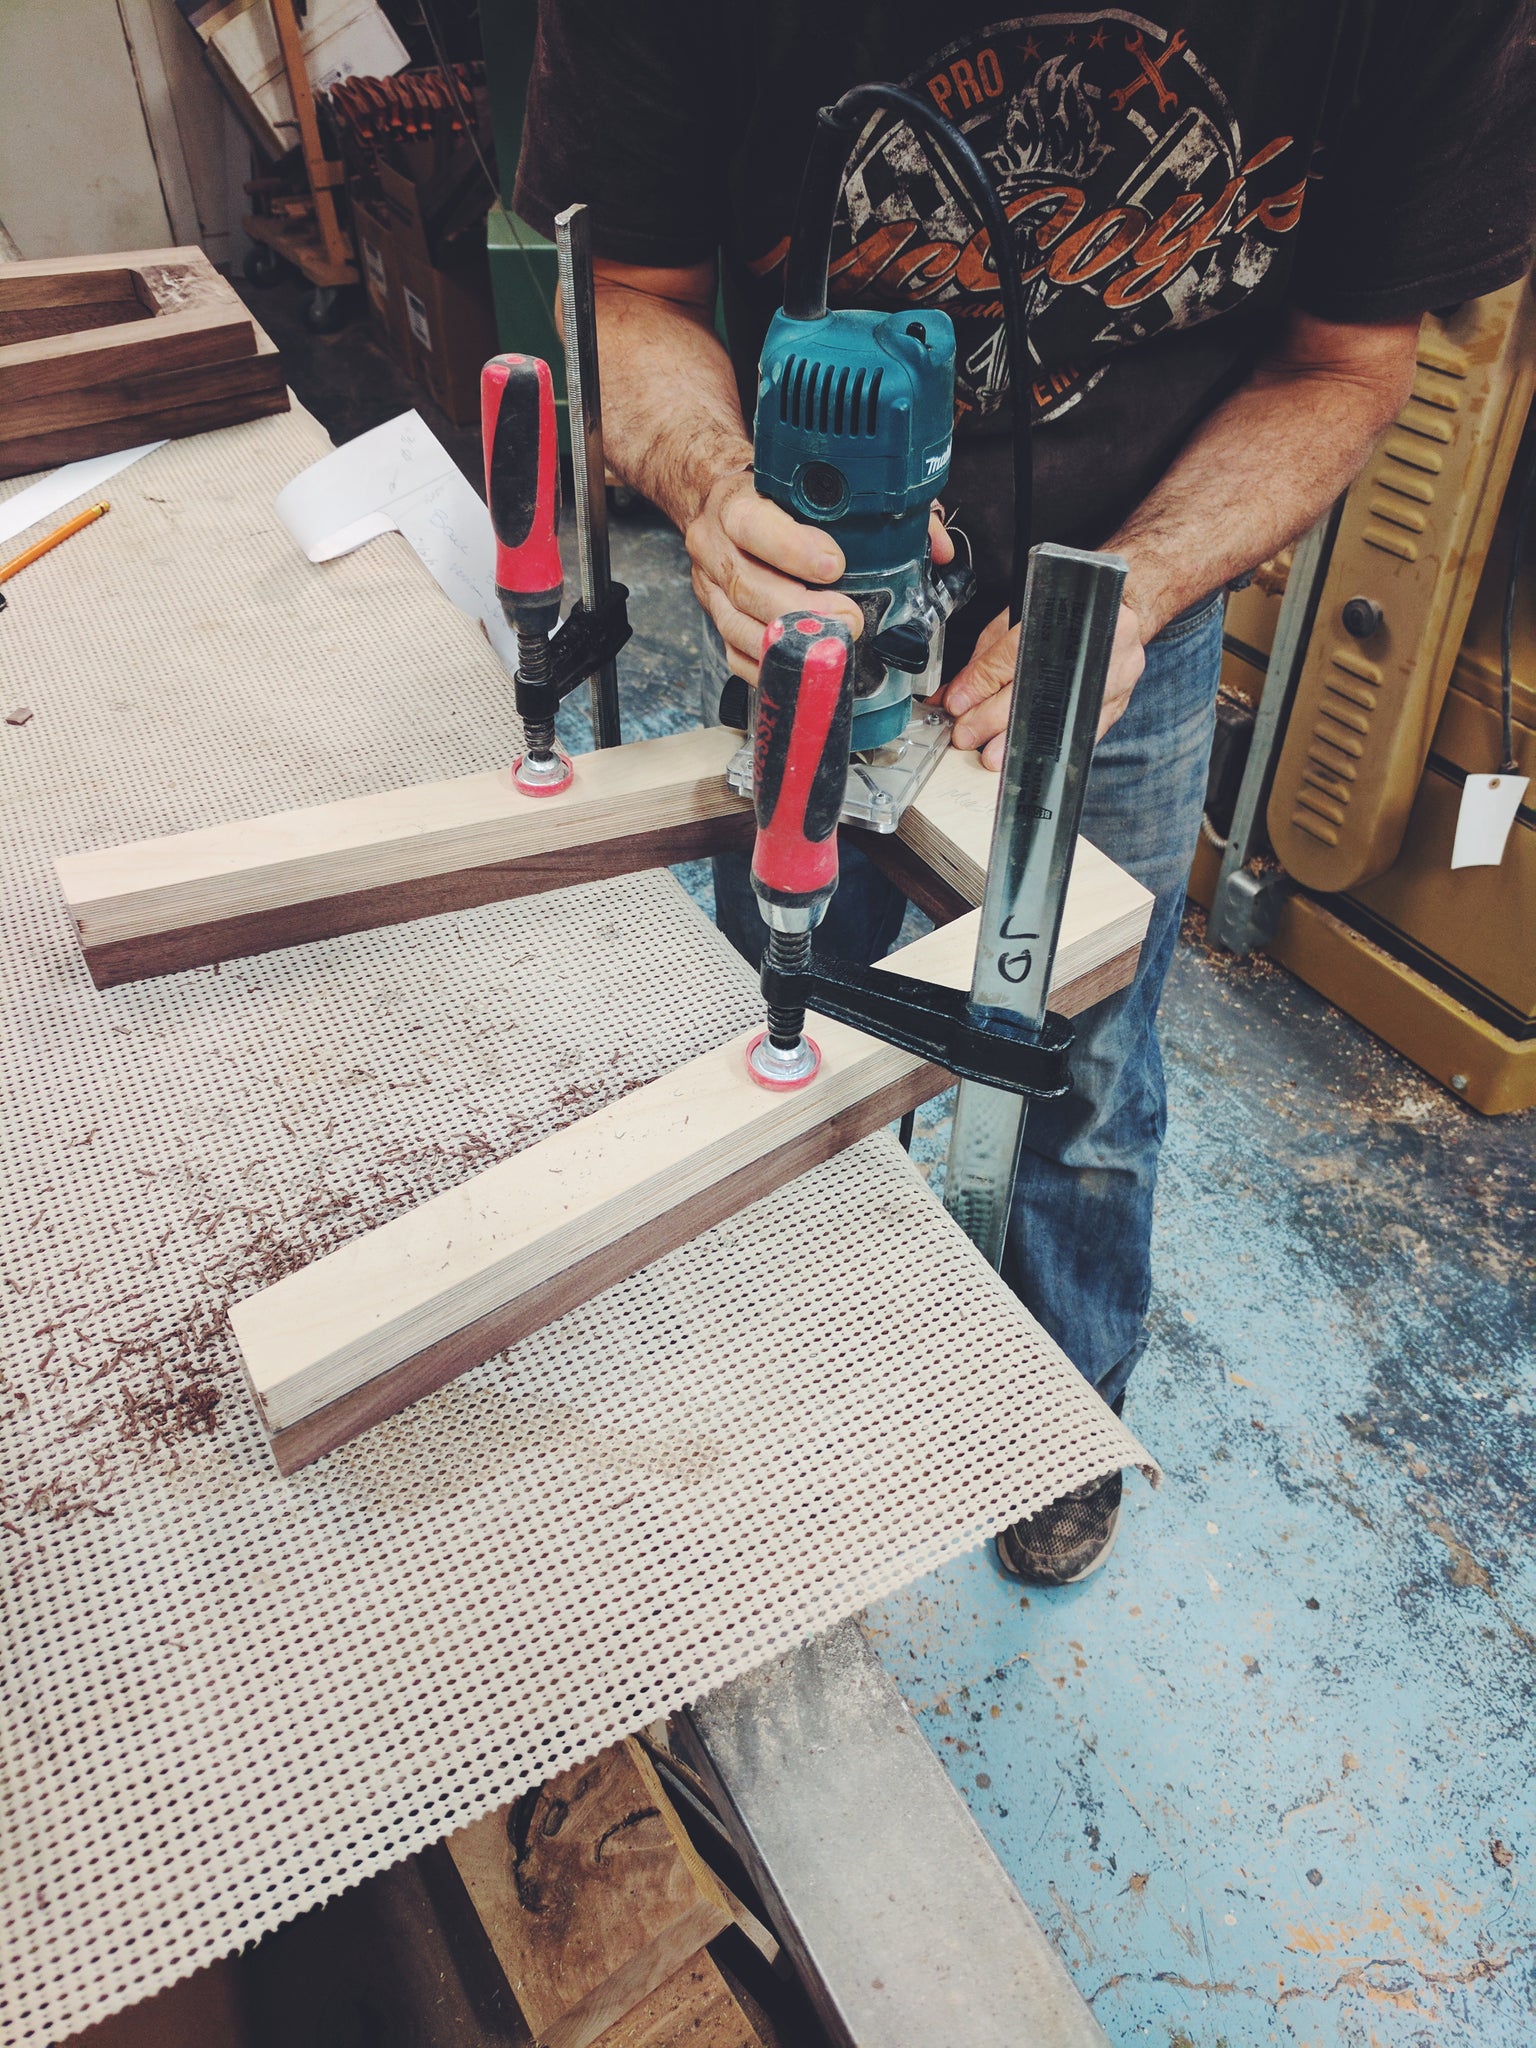
Holding one handle cut to shape on the exterior with holes drilled before finishing the interior shape with a router. You can see in the back our new double drum sander which is not installed yet. Can’t wait!
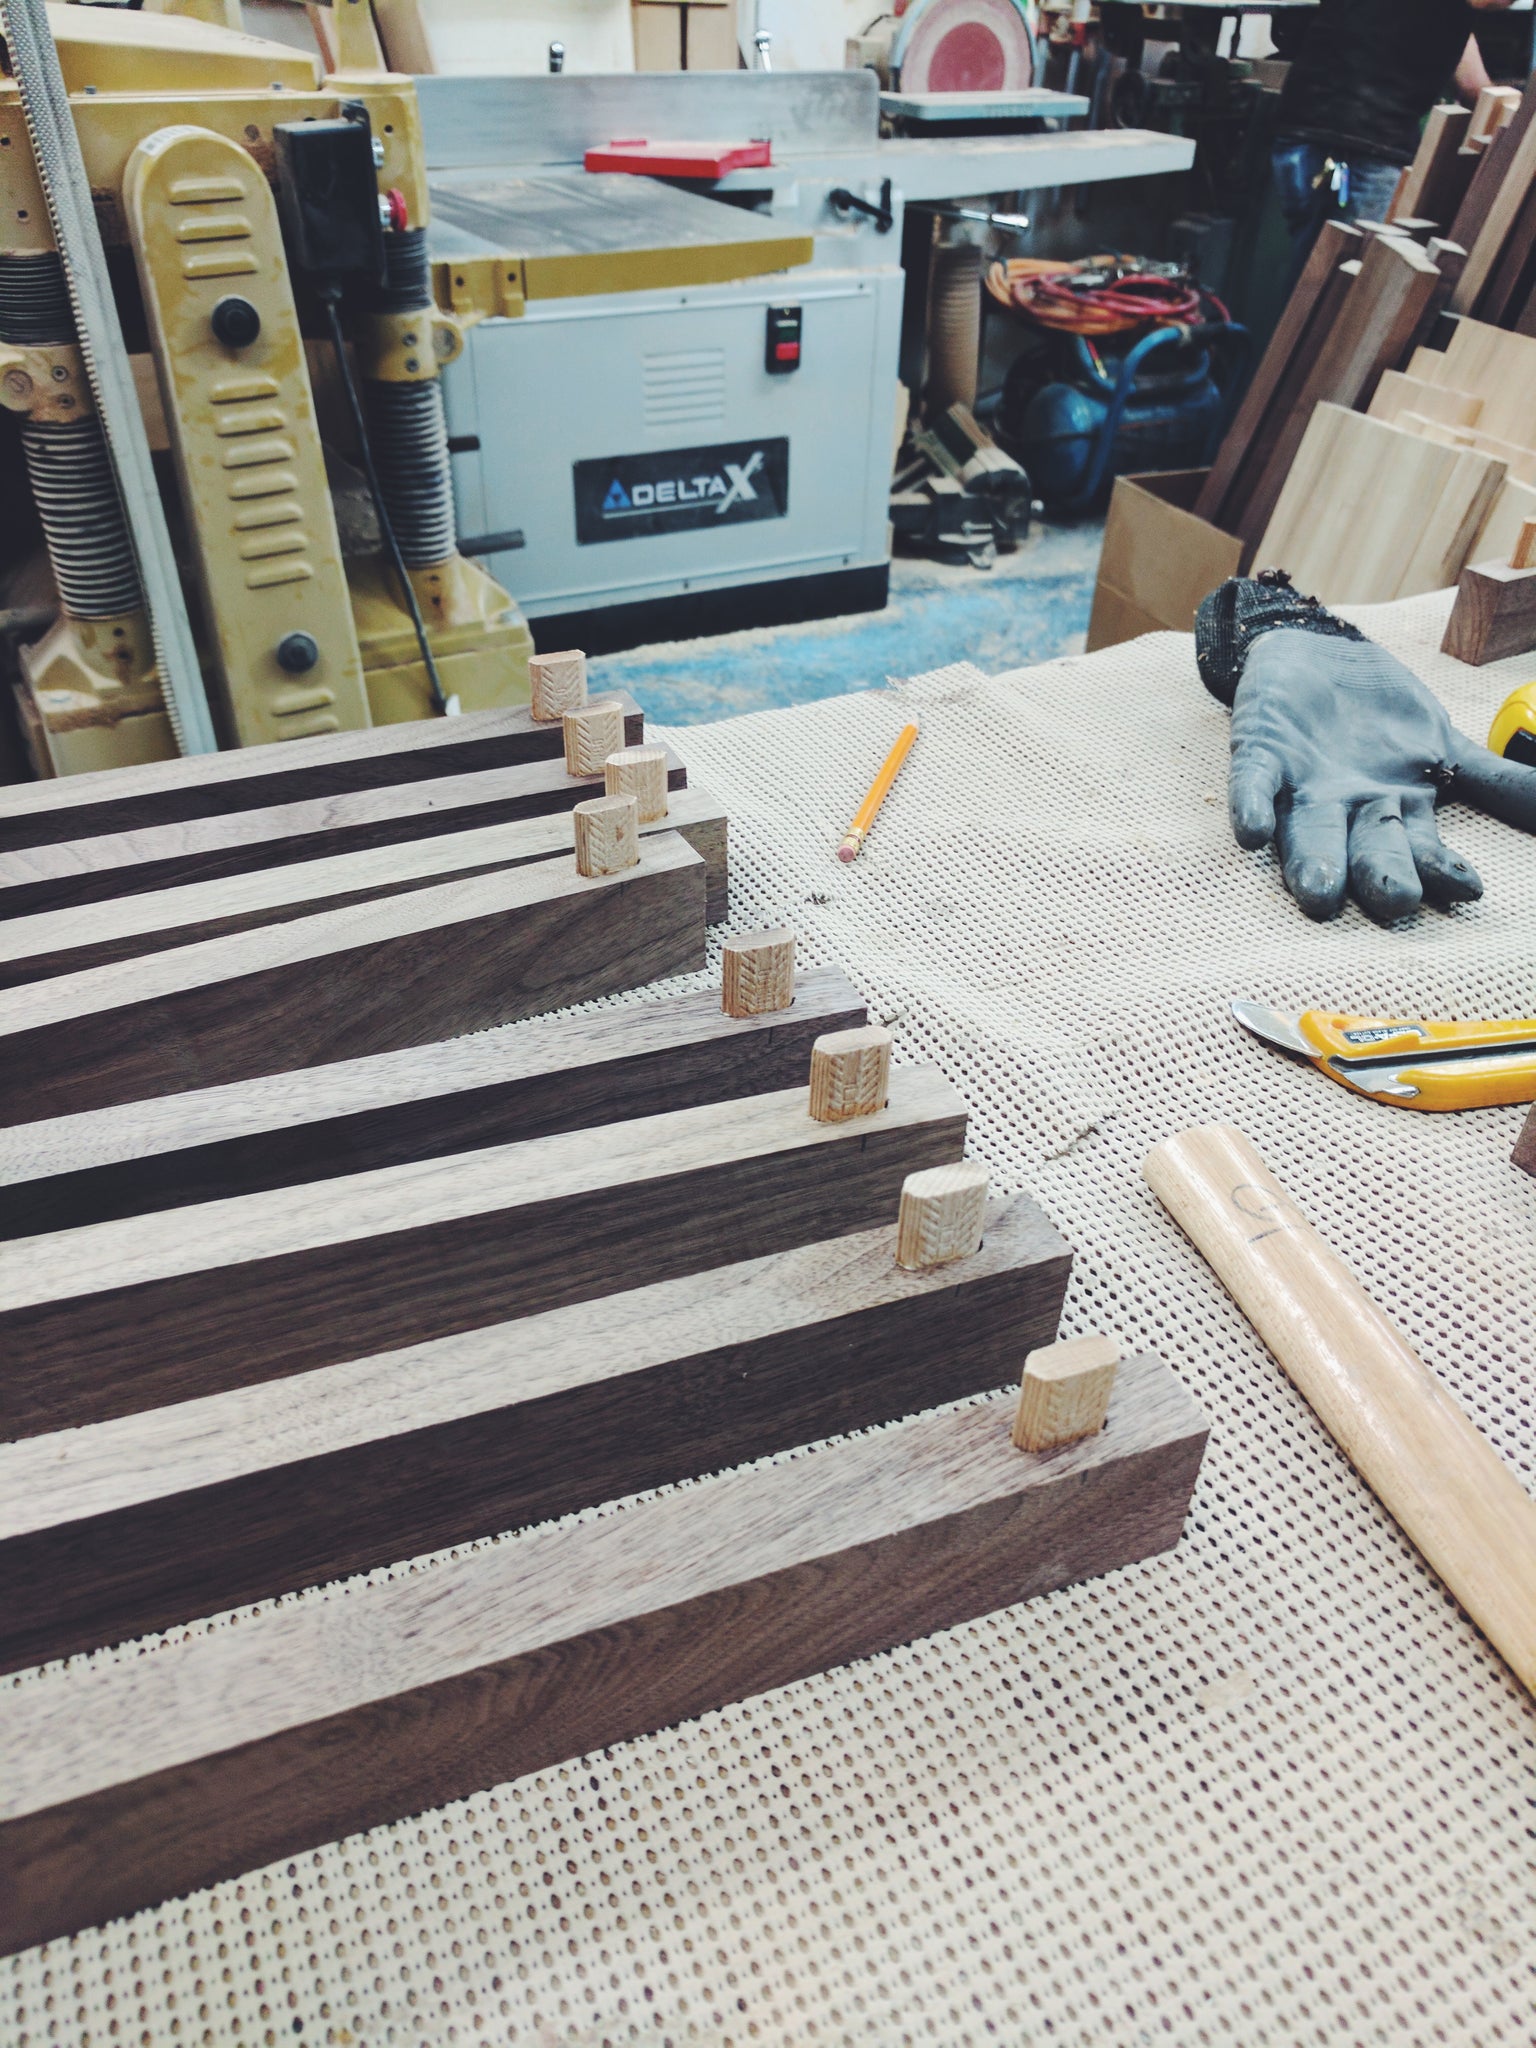
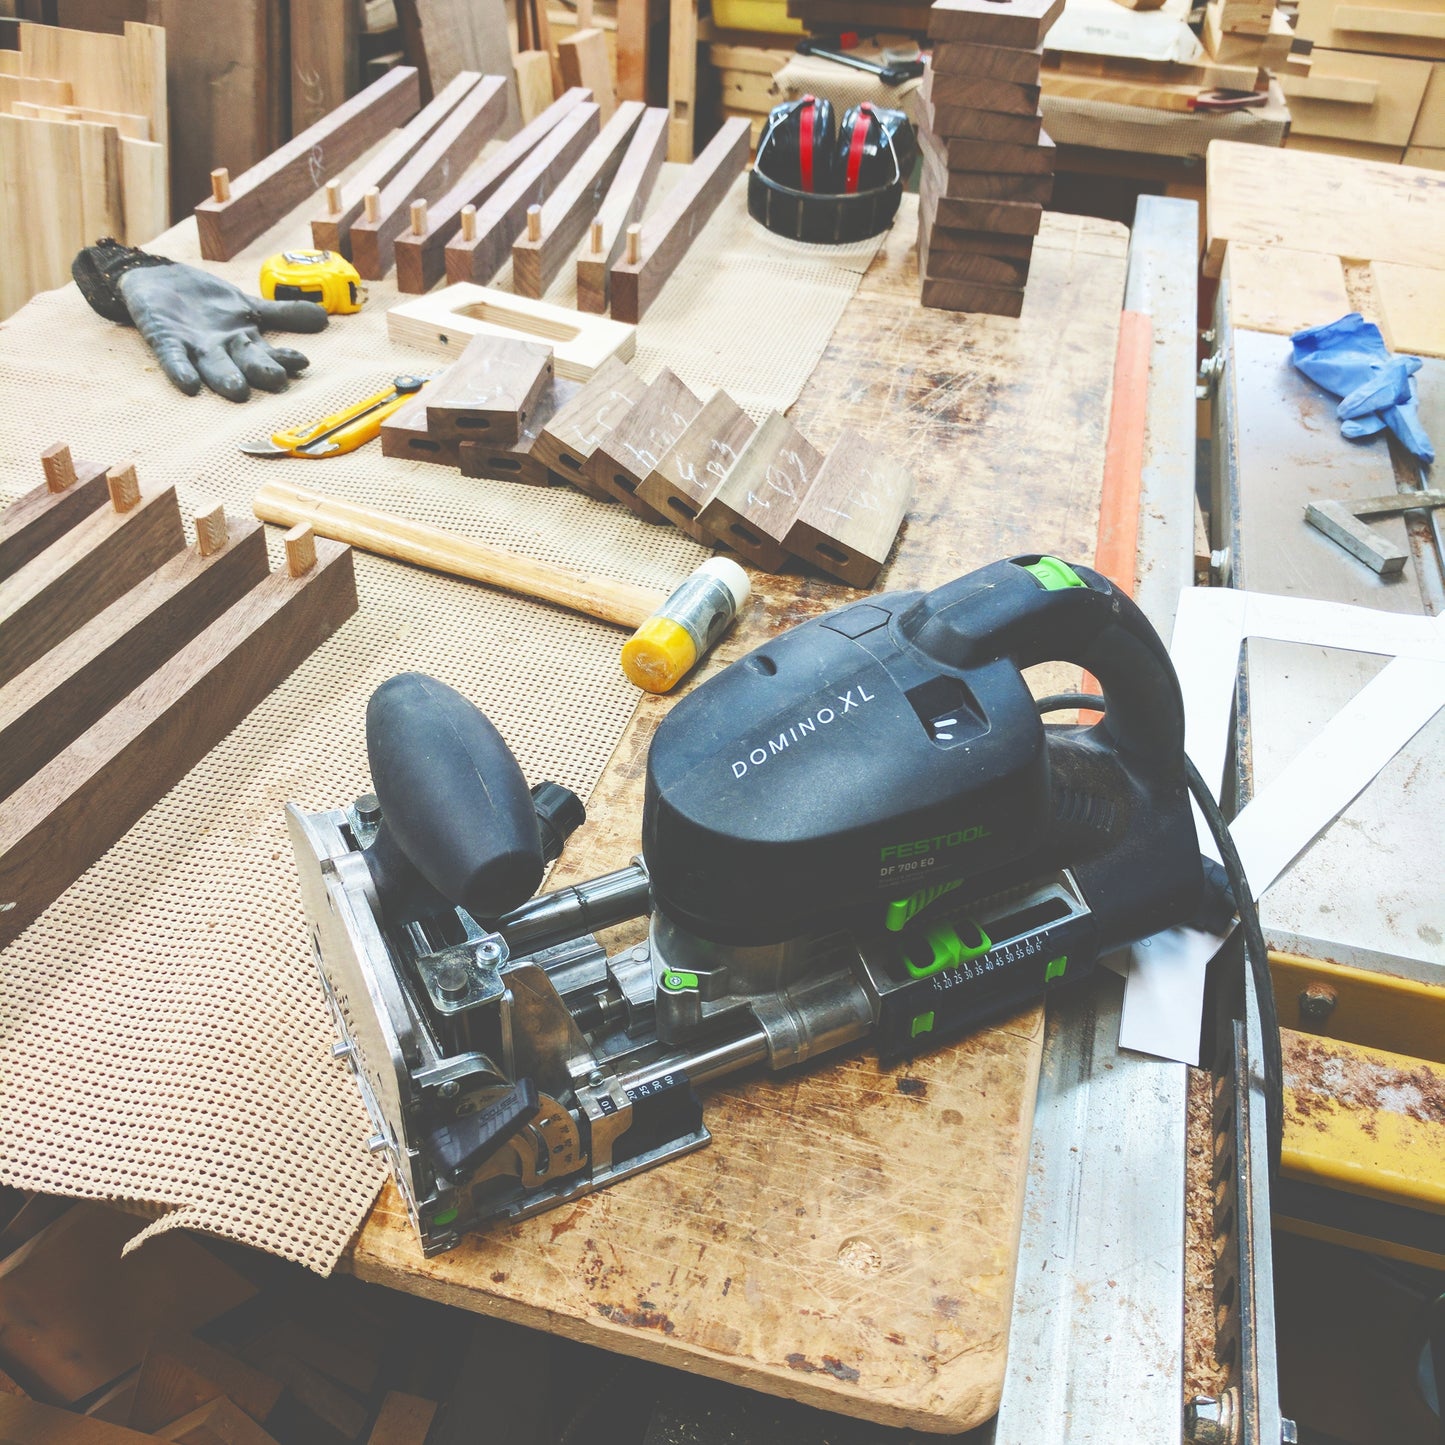
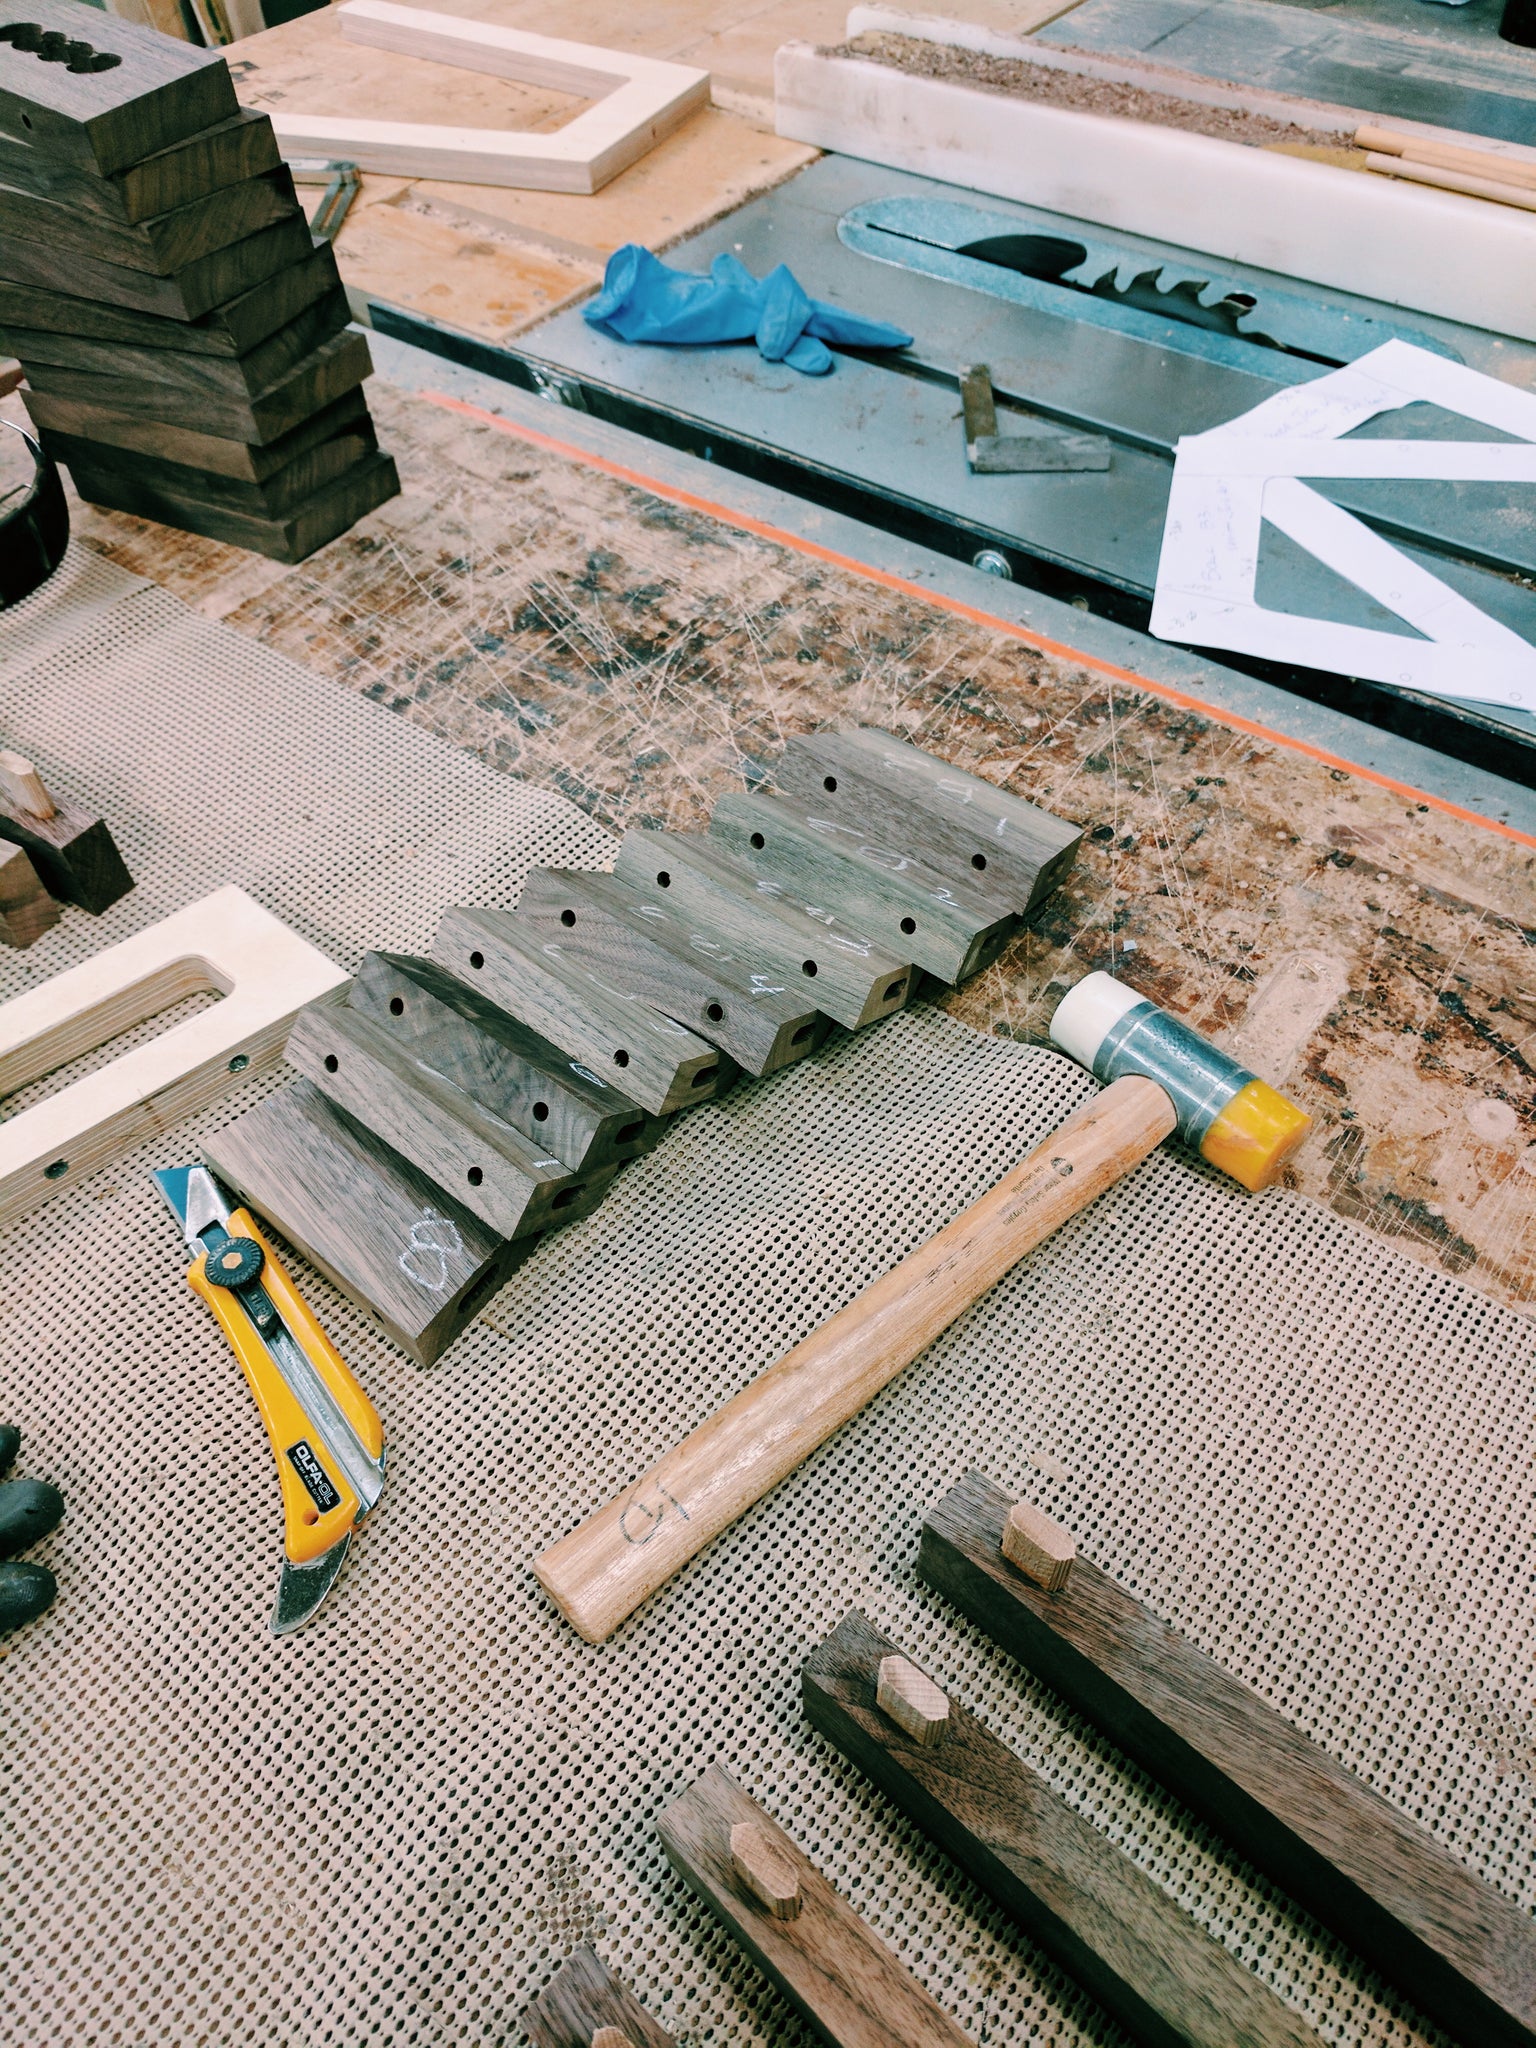
The legs have been cut to size and tenons holes pierced with the Domino XL. The tenons are then glued in.
The center piece of the leg, waiting to be glued.
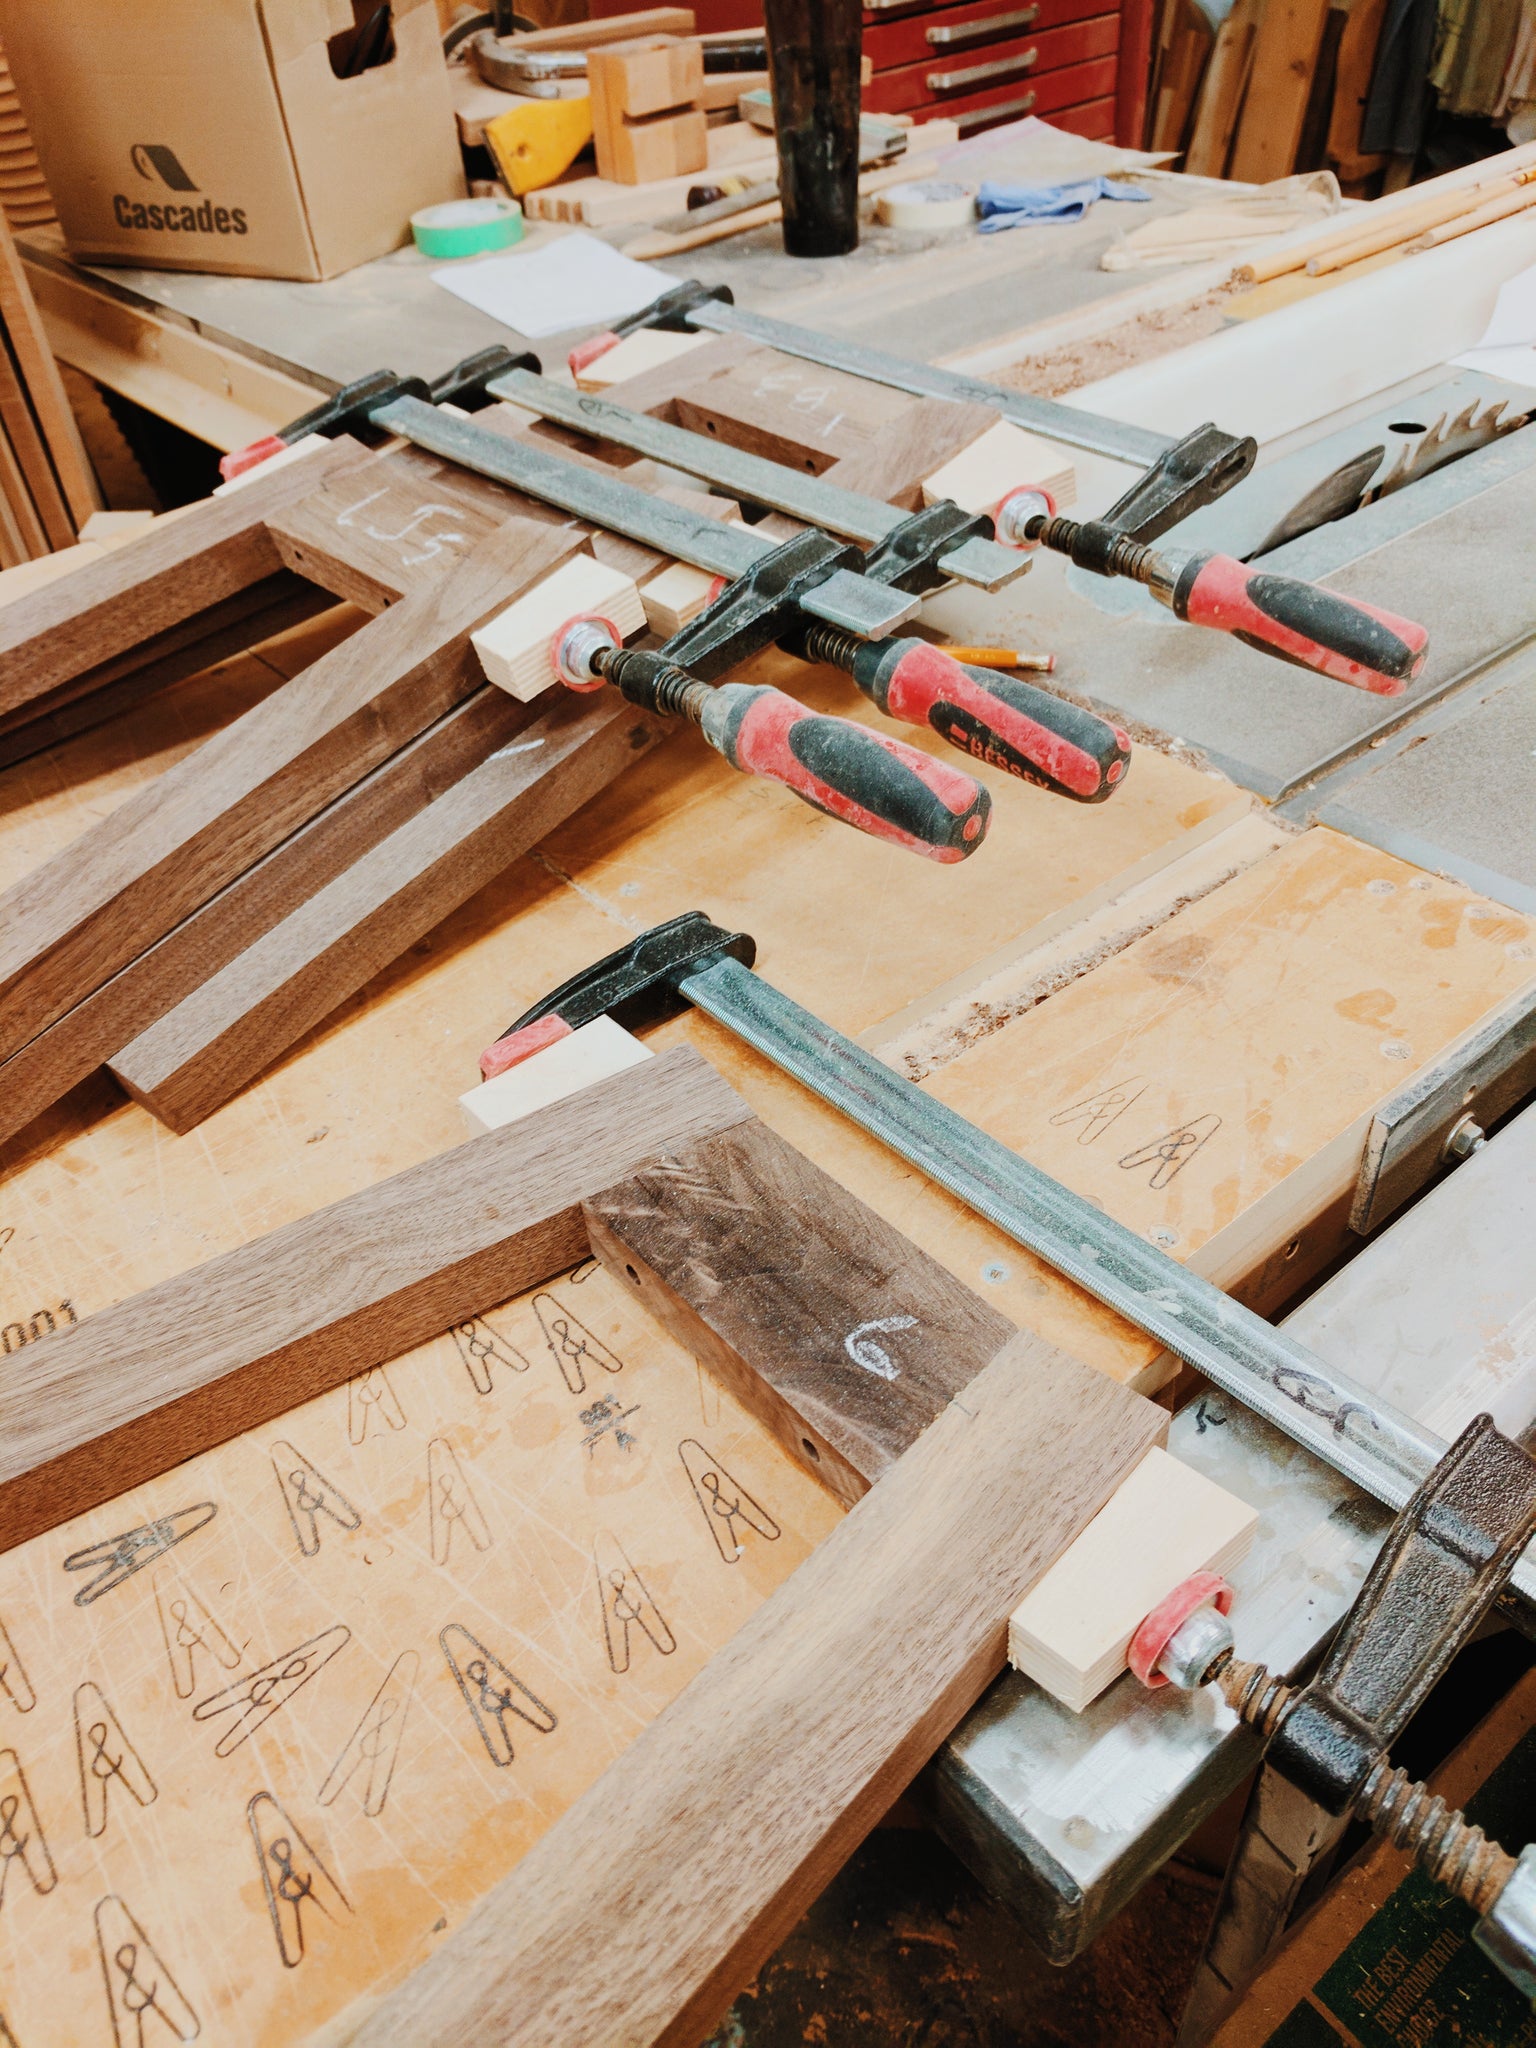
Gluing the assembly of the three parts that form a leg.
 Jean is sanding the top of the legs to even the surface.
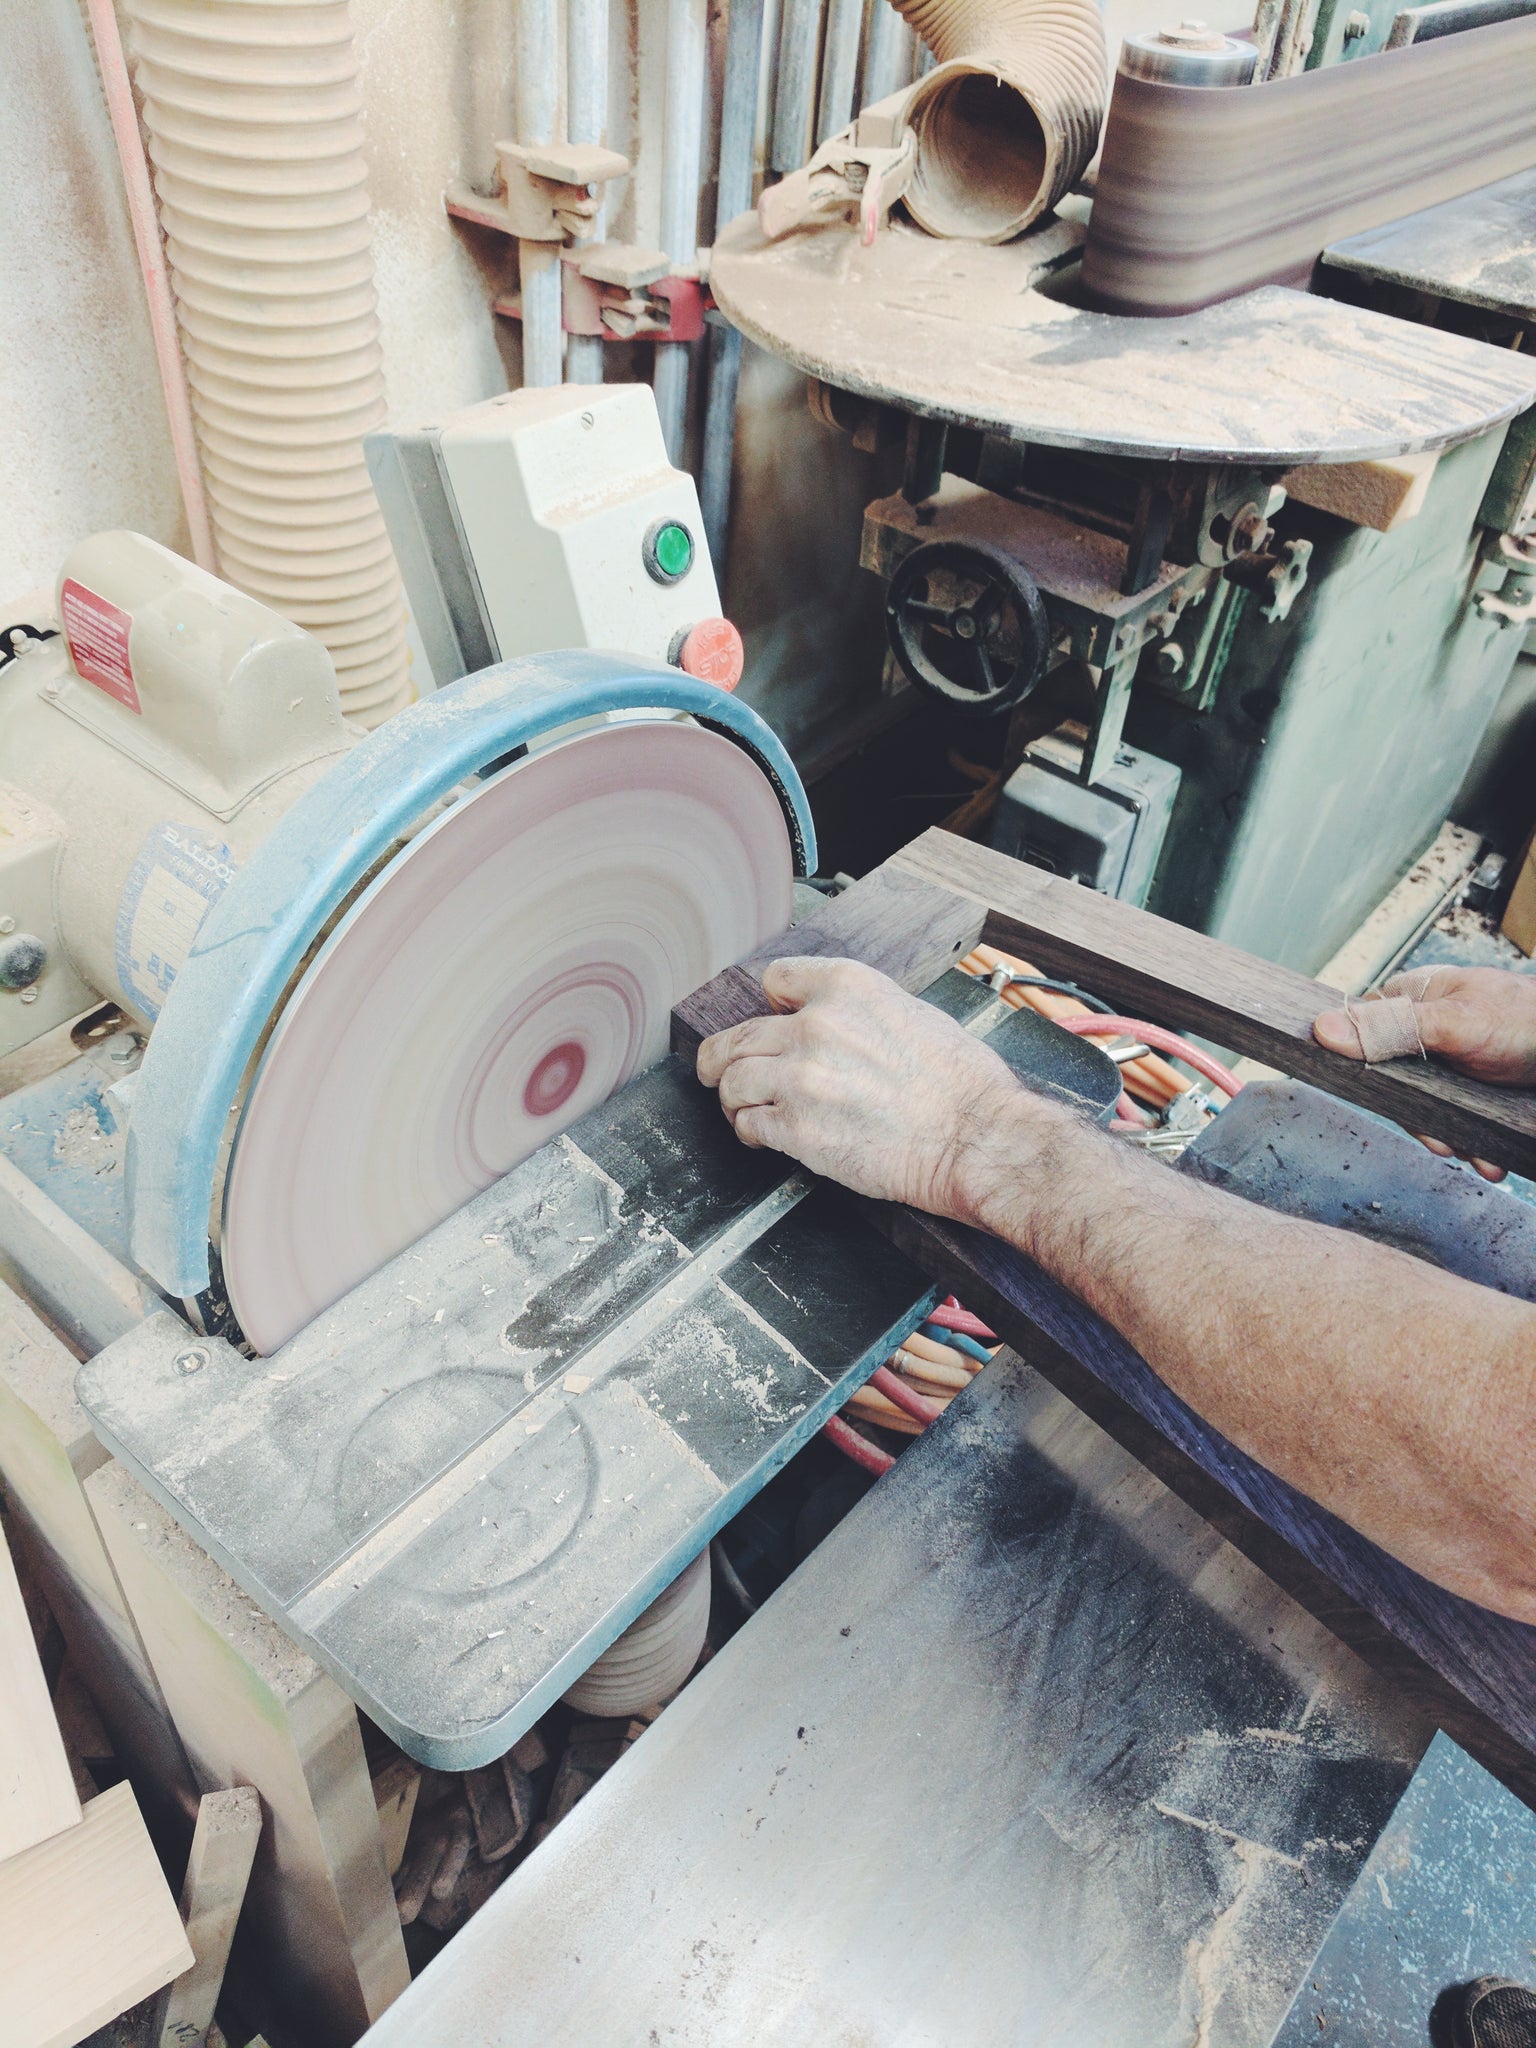
After that, the exterior of the legs are cut on the band saw and machined with a router and a jig to finalize the shape. The surface is then evened on the belt sander.
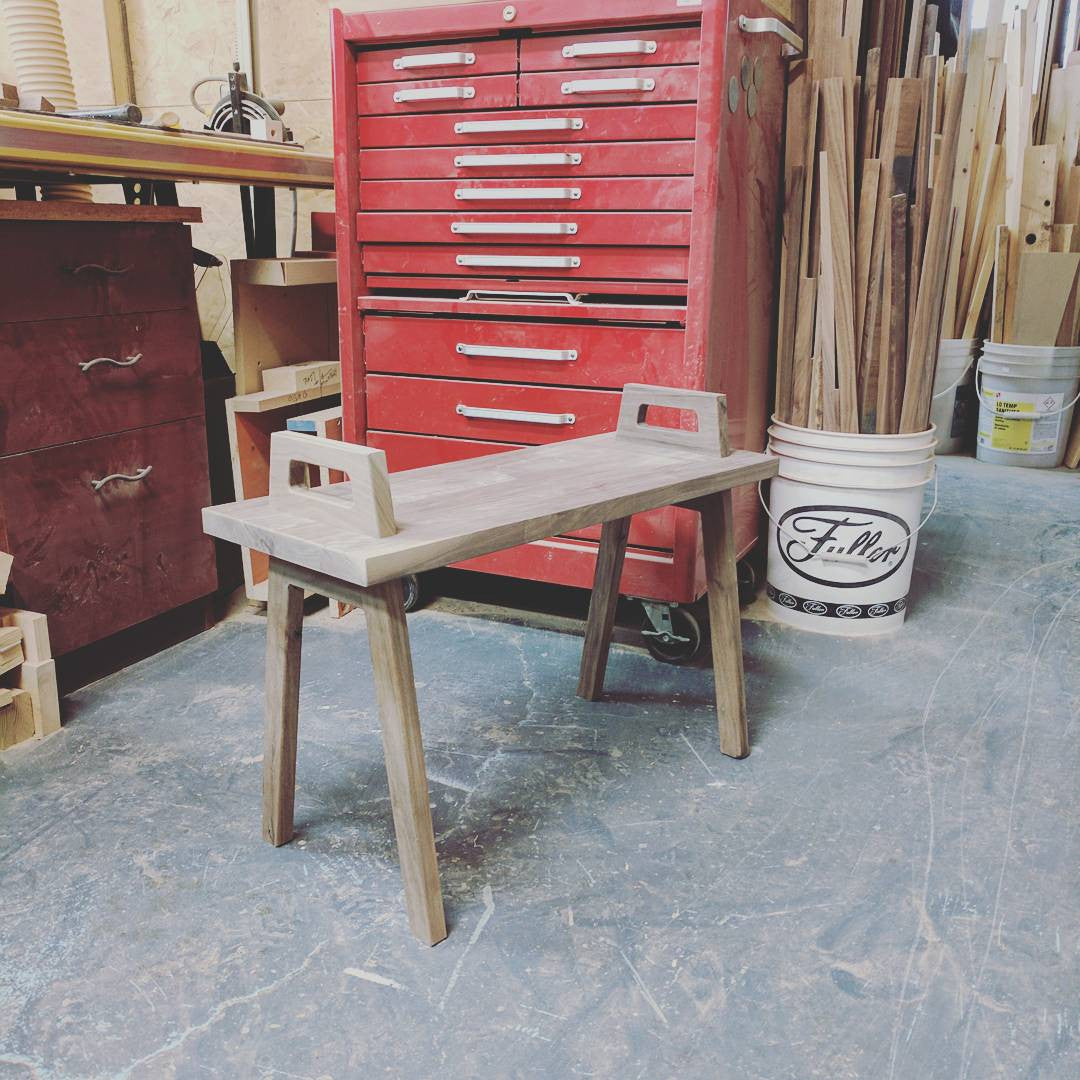
And here’s the final result!
Thanks for reading!
← Older post Newer post →